The DIY Anti-Aging Serum That’s Going Viral
The DIY anti-aging serum that’s going viral combines powerful ingredients like vitamin C, hyaluronic acid, and rosehip oil to restore your skin’s youthful glow. It enhances hydration, improves texture, and can be tailored to your unique skin needs. With just a few easy steps, you can create your own serum in a clean glass bottle and maximize its effectiveness with proper application. Discover more tips on how to elevate your skincare routine and achieve stunning results.
Understanding the Benefits of Anti-Aging Serums
When you dive into the world of anti-aging serums, you’ll discover an array of benefits that can transform your skincare routine.
An anti-aging DIY serum can improve your skin’s texture, boost hydration, and promote a youthful glow.
By crafting your own serum, you not only save money but also customize it to suit your unique skin needs.
Your skin deserves this upgrade! Additionally, incorporating essential ingredients known for their anti-aging properties can significantly enhance the effectiveness of your serum.
Key Ingredients for Your DIY Serum
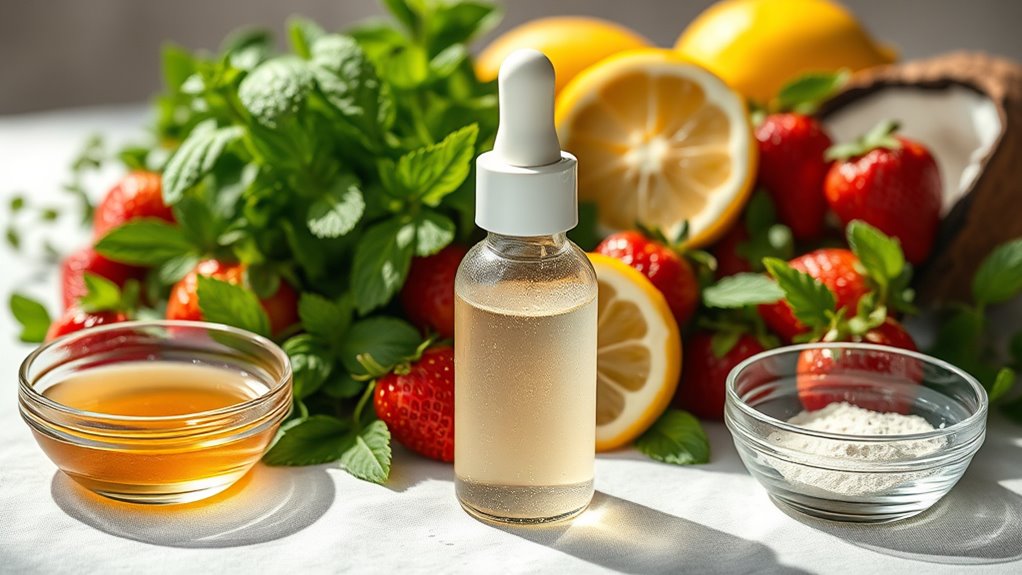
To create an effective DIY anti-aging serum, you’ll want to focus on key ingredients that deliver powerful results.
Look for potent antioxidants like vitamin C to brighten skin, hyaluronic acid for hydration, and rosehip oil for its healing properties. Incorporating antioxidant-rich foods into your diet can further enhance your skin’s elasticity and radiance, providing essential nutrients necessary for optimal skin health.
Incorporating essential oils like lavender can provide soothing effects.
With these ingredients, you’ll harness nature’s power to rejuvenate and refresh your skin effectively.
Step-by-Step: How to Create Your Serum
Create your own anti-aging serum effortlessly by following these simple steps.
Start by gathering your key ingredients: carrier oil, essential oils, and any additives.
Combine them in a clean, dark glass bottle. Shake gently to mix everything well.
Once blended, let your serum rest for 24 hours.
Incorporating essential skincare steps into your routine can enhance the serum’s effectiveness.
Voila! You’ve got a revitalizing serum ready to nourish your skin.
Enjoy your youthful glow!
Application Tips for Maximum Effectiveness
Applying your DIY anti-aging serum correctly can make all the difference in achieving youthful, radiant skin. Here are some tips to maximize its benefits:
| Step | Tips |
|---|---|
| Cleanse | Start with a clean face. |
| Apply | Use gentle, upward strokes. |
| Layer | Combine with moisturizer for hydration. |
| Frequency | Use twice daily for best results. |
| Store | Keep in a cool, dark place. |
Following these tips ensures your serum works effectively! Additionally, incorporating a consistent cleansing routine is vital for removing impurities that can hinder the serum’s efficacy.
Real-Life Results: Success Stories
Success stories of individuals using DIY anti-aging serums showcase their remarkable transformations and boost your confidence in trying these natural remedies. Users report smoother skin, diminished fine lines, and a radiant glow after just weeks of application. Many share testimonials on social media, inspiring others to embrace these simple formulas. Retinol’s benefits are often highlighted in these testimonials, emphasizing its role in achieving youthful skin. Why not join this thriving community and reap the benefits for yourself?
Maintaining Healthy Skin Beyond the Serum
While DIY anti-aging serums can work wonders, maintaining healthy skin requires a holistic approach that goes beyond just applying these serums.
Prioritize hydration, eat a balanced diet rich in antioxidants, and protect your skin from sun damage with SPF. Additionally, stay consistent with your skincare routine and consider incorporating regular exercise to enhance circulation, giving your skin a natural, vibrant glow. Remember to follow an efficient morning skincare routine each day to support your skin’s health.
Your skin will thank you!